Repairing Water-Damaged Drywall
12/23/2020 (Permalink)
 Repairing mild to moderate create water damage can be cumbersome. Contact SERVPRO of Western Lancaster County if you experience any drywall damage.
Whether it's from leaky plumbing, a storm event, or a window being left open, there is always a chance that your walls could be subject to water damage. While large scale water damage should be left to a professional for restoration, you may choose to tackle small sections of damaged drywall on your own. The SERVPRO of Western Lancaster County team of professionals utilize a 4-Step Method for repairing water damaged drywall. Below, we highlight each step of the four-step method we use so you can easily repair or replace water damaged drywall. If you're even unsure of how to proceed, SERVPRO of Western Lancaster County is Here to Help!
STEP 1: Find and Repair the Leak
There’s no point in repairing a water damaged wall if you haven't removed the source of the damage first. Finding the leak that caused damage can sometimes be difficult, but you can use clues from the damage to get a better idea as to where the water is coming from:
- If the damage appears to run downward from the top of the wall, and also affects the ceiling, a roof leak is likely a good contender for being the cause of loss. PRO TIP: You can spray your roof with a garden hose and watch for dripping in your attic to detect roof leaks.
- Water damage that is directly in the center of the wall is often an indicator that a broken pipe behind the wall is your cause of loss. PRO TIP: High-pressure leaks in pipes behind walls may make an audible hiss if you hold your ear to the wall.
With some investigating and basic plumbing knowledge, you may be able to find and repair and leak on your own. If you doubt your abilities in the slightest, contact a professional for guidance.
STEP 2: Replace Saturated Drywall
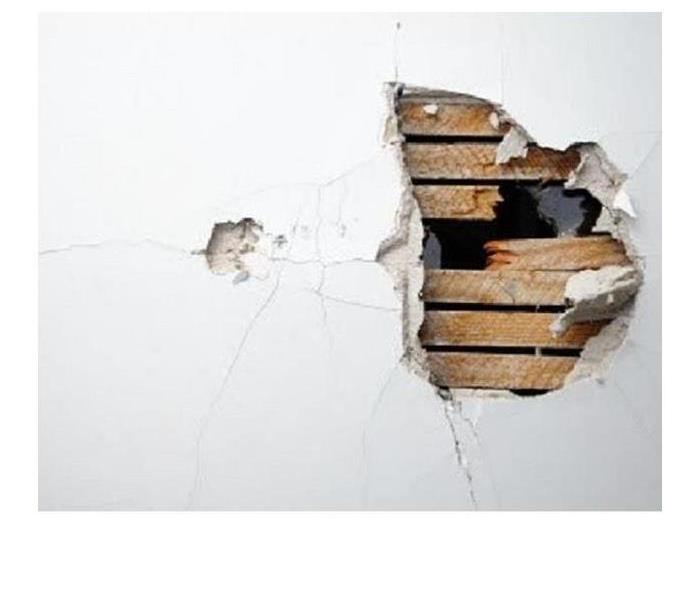
Drywall is a highly porous material, therefore the longer it is exposed to water, the more water it will absorb. This water absorption will eventually cause your drywall to become soft and spongy. After a certain point, your drywall may eventually start to sag inward. Unfortunately, drywall that has been saturated to this extent cannot be salvaged, and you will need to remove and replace the damaged section of wall or ceiling.
- Use a stud finder to locate the studs behind the damaged section of drywall.
- Once you have located the stud, cut straight lines around the damage using a level and a drywall knife.
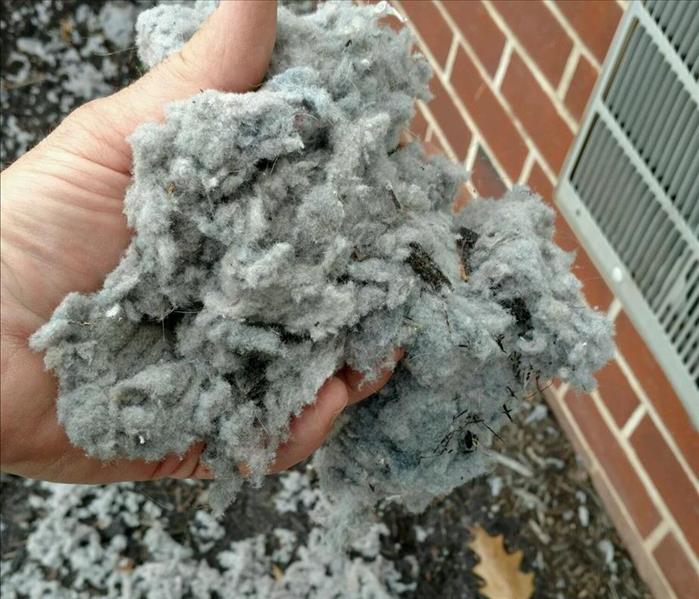
- When you remove the damaged drywall, check the insulation behind it. If the insulation is saturated, you will likely need to remove and replace the insulation before putting in new drywall.
- Cut a new piece of drywall to the same size of the hole. Line up your new piece of drywall and screw it into the studs.
- Cover the seams with joint compound and tape, and then sand and paint the drywall.
STEP 3: Scrub Away Mold
In addition to soaking up moisture, the pores in drywall can make excellent places for mold spores to hide and develop. If parts of your drywall are still structurally sound but are beginning to foster mold, you can kill the mold by scrubbing the walls with detergent, diluted bleach, or a commercial mold remover. PRO-TIP: Do NOT mix chemical products together. Always read the labels and use as directed!
- Always wear gloves and a dust mask when handling mold.
- Ensure that there is proper ventilation in the room you are working in. Ventilation and the appropriate Personal Protective Equipment (PPE) will help protect you from spores that may be released while scrubbing.
- Spray the affected area of the wall with the solution you are using to clean.
- Scrub the wall with a soft bristle cleaning brush or abrasive sponge. PRO TIP: Scrubbing can still be effective if the wall is unpainted, but in severe cases you may need to replace the mold-covered section.
STEP 4: Cover Water Stains
Next, you will want to cover any light water stains on the remaining sections of drywall, that weren't significantly damaged.
- First, you will want to scrub the affected area with a damp cloth, or sand it to remove paint, dirt, and debris.
- Then, spray the area with a shellac or oil-based primer, that is formulated for blocking stains.
- After the primer has dried, you can simply paint over the area with interior paint.
When in doubt, leave it to the pros!
Repairing mild to moderate water damage on drywall is not too difficult if you know the process. If you are faced with severe water damage, or are unable to locate the source of the leak, contact SERVPRO of Western Lancaster County at 717-665-1270! Calling SERVPRO of Western Lancaster County gives you the opportunity to work with an experienced water damage restoration professional who can restore your walls to like-new condition.


 24/7 Emergency Service